Assembled ECOWORX Carpet Tile Rugs
TOOLS YOU’LL NEED:
• Broom
• Tape measure
• Painter's tape
• Metal straight edge
• Sharp carpet knife
• Safety gloves
• Vacuum
CREATING A CUSTOM AREA RUG?
Install carpet tile rugs using the floating / secured methods over existing hard surface floors and transform your favorite space in no time!
STEP 1:
prep
A proper installation depends on the proper site conditions. The following conditions must be maintained for 24 hours prior to, during and permanently after installation:
– HVAC System: Must be operational maintaining the following conditions.
– Temperature: The installation site, carpet and adhesive must be between
50° F and 95° F.
– Humidity: The installation site’s ambient relative humidity should not fall below 40%.
• The existing hard surface floor must be structurally sound, clean, level and dry before you begin.
• Sweep your floors and ensure they are free of dust, dirt, oil, grease, paint, curing agents, concrete sealers, loosely bonded toppings, loose particles and any other substance or condition that may prevent or reduce adhesion.
• Plywood Subfloors: Floors must be Wood Association Approved and primed with a paint roll application of liquid latex such as Shaw 9050 floor primer.
• Concrete Subfloors: Fill depressions or cracks by using a gypsum-based patching and/or leveling compound containing Portland or high alumina cement that meets or exceeds the compression strength of 3,000 PSI.
For cracks or saw cuts deeper than 1", follow the preparation and application instructions for Shaw QuikFill. QuikFill is a 2-part urethane treatment that prevents future damage from moisture penetrating to the surface of the slab that may damage or breakdown adhesives or unapproved patching compounds.
STEP 2:
design & place
You can use painter’s tape to design the placement for the area rug.
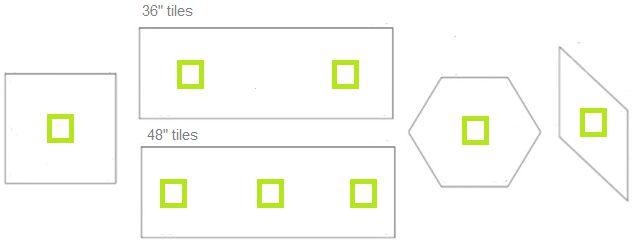
Each tile has directional arrows on the back. These arrows allow for one-directional or multi-directional installation. See our carpet tile installation guidelines for some pattern ideas.
STEP 3:
attach & cut
• Once you have your design finalized and the tiles are ready to install, simply place LokWorx as illustrated below.
• Tiles must fit snugly, but not be compressed.
• We recommend cutting your tiles first before you remove the liner from the adhesive.
SIMPLE CUT?
• Should you need to cut carpet tiles, measure and cut from the back of the tile using a metal straight edge. Ensure arrows are pointing in the correct direction.
• Be sure to cut your tiles on a protected hard surface.
• To finish up, just vacuum any loose fibers.
Securing LokWorx to the Subfloor
Floating LokWorx Over the Subfloor * (secure the perimeter tiles to subfloor)

These installation procedures are intended to assist in the indoor installation of Carpet Tile rugs under most job conditions. See Shaw Industries and CRI 104 Commercial Installation Guidelines for specific questions regarding installation not covered within or refer to Shaw Technical Support at 1.800.471.7429.
Any variance from these procedures will become the responsibility of the installer and not the manufacturer.